In the previous entry we created an Hugo site, in which changes were automatically deployed to shared hosting after uploading the change to GitHub. That was a simple site which doesn’t require more security.
Let’s image we have a more sophisticated website (maybe some forms and login is required in the site). This needs encrypted communication is order to avoid credentials theft or let anyone on internet sniff the traffic. Here is where an SSL certificate comes into play. As we could have realized the website shows a “Not Secure” alert at the left side of the URL bar (the alert might vary depending of the browser):
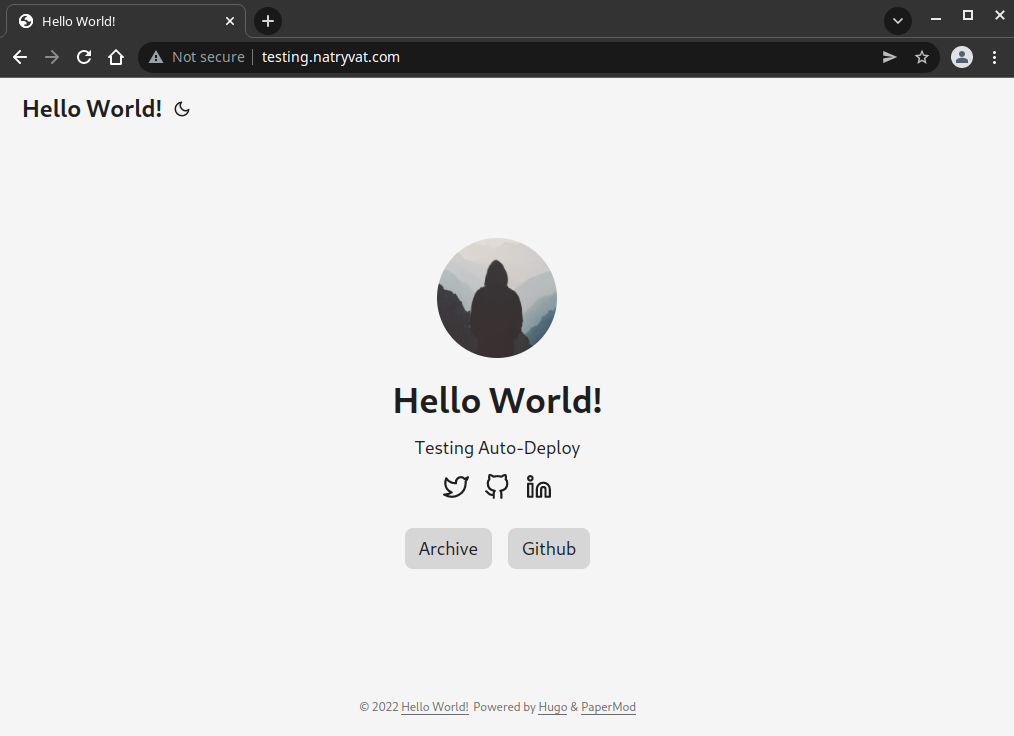 Testing website is shown as “Not Secure”.
Checking certificate status
First thing we could verify is the status of the certificate, we do that by going to go to SSL section from our hosting, in my case Hostinger:
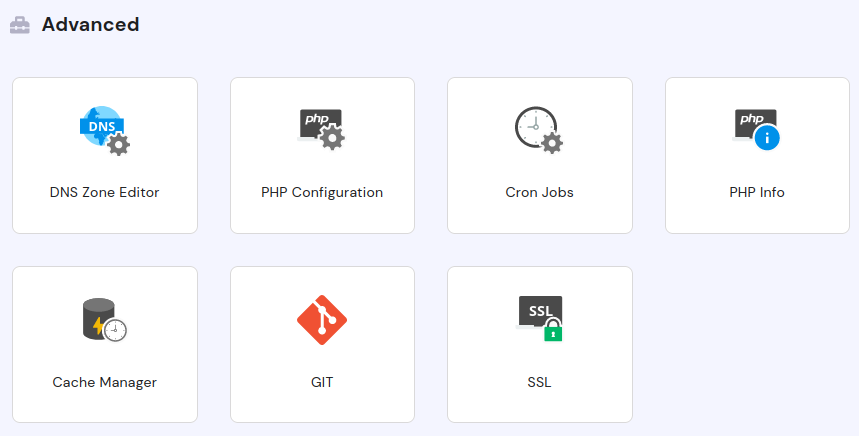 Advanced section from Shared Hosting.
From there, we can see we have two options: Install/Buy a SSL certificate (which we don’t want) or Import our own certificate. So, we want this second option because it’s free.
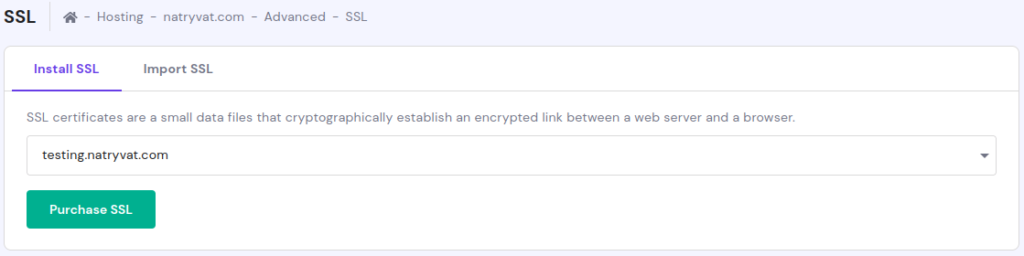 Add SSL certificate options.
Searching on the Internet I couldn’t find a way to get free certificates forever. I just found some sites that give us limited certificates, this just for a few domains, and just giving the option to renew them three times (each one is for 3 months), before paying.
Fortunately, we have a tool called Certbot. This is a simple tool that can be installed in our system to issue free “Let’s Encrypt” SSL certificates. The problem is that we don’t have the website hosted in our system, and we cannot install this tool in the shared hosting.
Installing and using Certbot
To install Certbot we just need to run the run the following command. We just need to have python3 installed:
pip3 install certbot
To issue a certificate we have to provide evidence that we own the domain we want to issue the certificate for. The easiest option is to install Certbot in the hosting server. As we can’t do this due to permissions we could use dns verification. The command to get the certificate should be as follows, just make sure to run it with root permissions:
certbot -d <DOMAIN> --manual --preferred-challenges dns certonly
You can get information of what each pert of the command does, but I will explain it here:
- -d <DOMAIN>: provide the domains we want to get the certificate, it could be more than one.
- –manual: we want to provide manual input to the process, this is due the verification process we need.
- –preferred-challenges dns: I explained this earlier.
- certonly: as we are not running the command in the hosting server we just want to get the certificate and not installing it automatically.
Before running this command make sure you have access to your DNS panel.
During this process we just have to provide a email to associate with the certificate and accept the Terms of Service. Then we are given with the instructions to verify ownership of the domain:
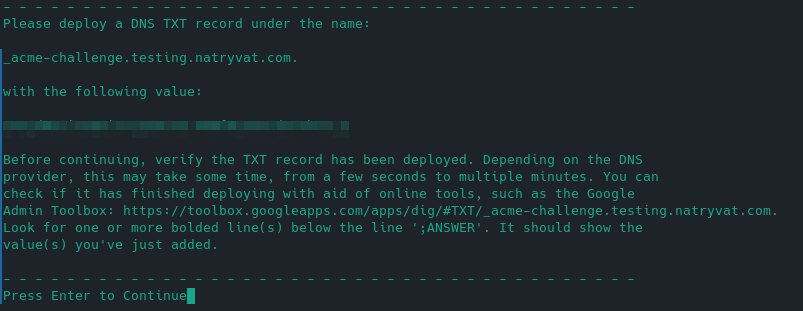 DNS challenge.
So, we can just follow the instructions:
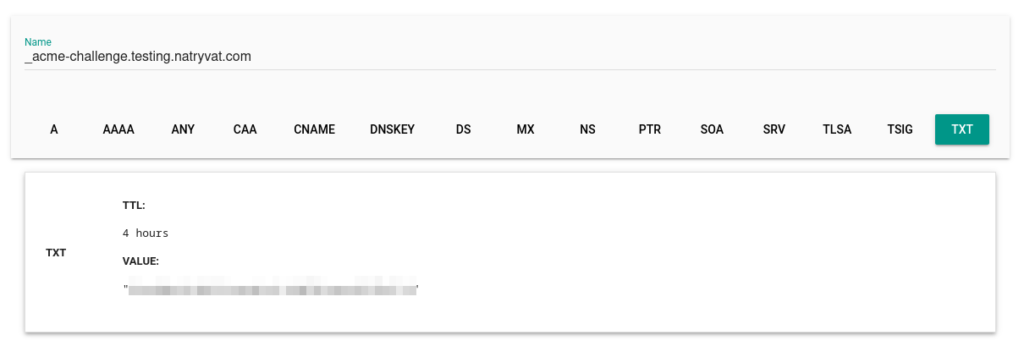
 Adding TXT DNS record.
We could verify if it was saved correctly. Also, we have to check if the DNS record is publicly accessible, we can do that with the link provided by Certbot or by other means. We should not proceed before verify it. This might take some time:
 Checking generated DNS record.
Now, we got the SSL certificate. Certbot give us the path were it’s stored and the expiration date:
 Certificate created.
We need to know, Certbot certificates are only valid for 90 days but we can extend/renew them. To verify this information later we can use the following command:
certbot certificates
We can just renew a certificate that is near to expire. We should get an email notification regarding this or we could try 10 days before the expiration date. The command is as follows:
certbot renew
An alternative option is to schedule a task every 90 days with crontab to automate the process.
Importing SSL Certificate
From the output from previous Certbot command we got 4 files, we just need two of them the Certificate (CRT) and the Private Key (KEY). In that directory we can find also a README file with details about those files. However, we just need “cert.pem” and “privkey.pem“.
Now, returning to SSL section from the hosting and going to “Import SSL” tab we have to provide details of our certificate. We just need to copy the contents of the mentioned files and paste their content in their respective fields:
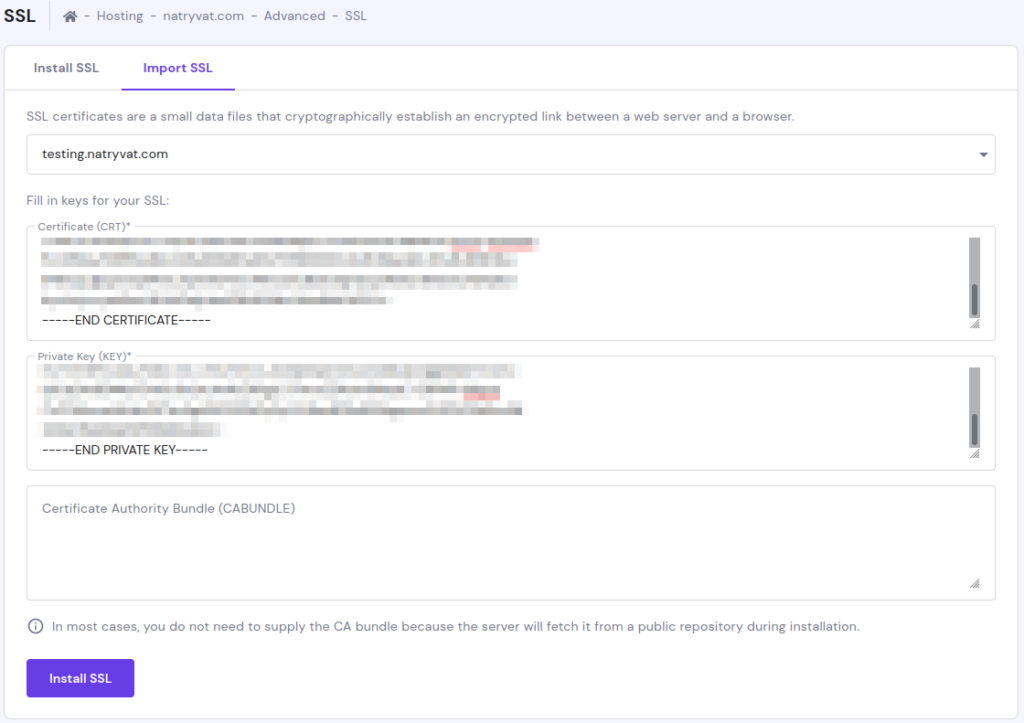 Importing SSL certificate.
We don’t need to provide Certificate Authority Bundle (CABUNDLE) as Certbot didn’t provided it. Also, as you can see in previous image, the server will fetch it from a public repository automatically.
We successfully imported the certificate:
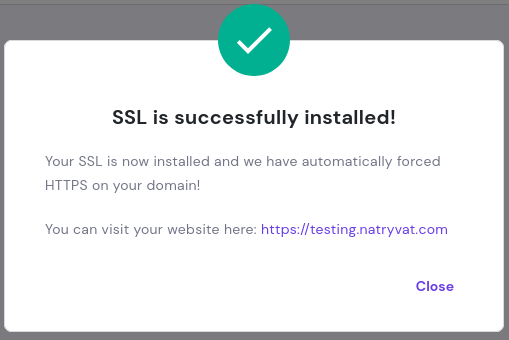 SSL is installed.
In the SSH panel from the hosting service we should be able to see the status of the SSL, as well as creating and expiration date:
 Certificate status.
Now, when we access the website we could verify the certificate also the communication should be secure:
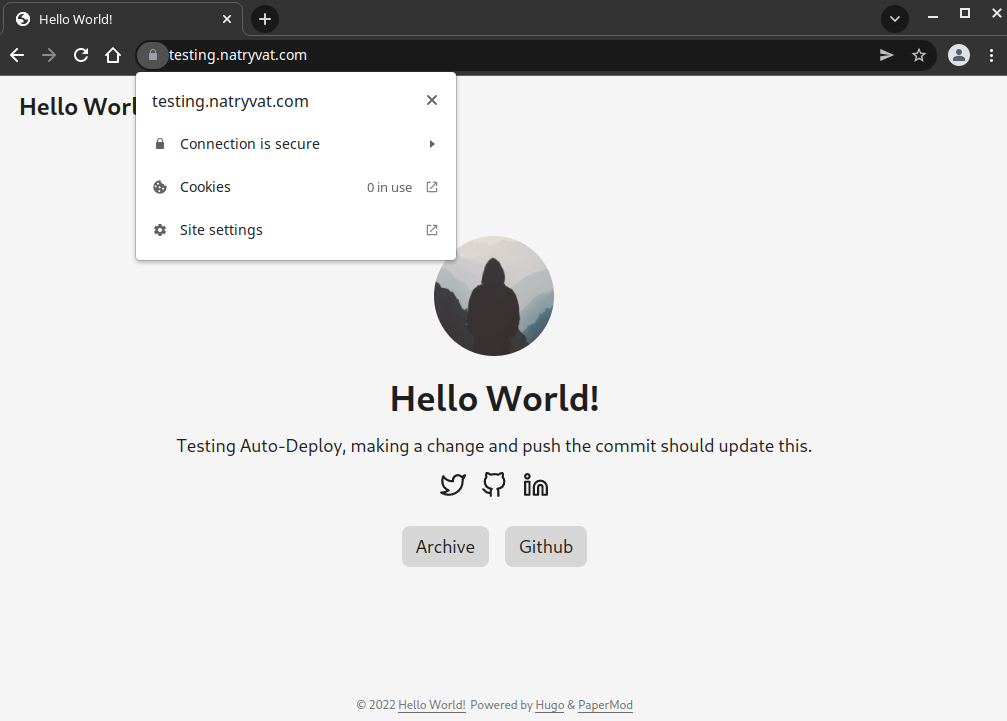
As a conclusion, we get a free SSL certificate and installed it in successfully in a website.